Cover photograph for Seating Benches

PROJECT DIARY

Seating Benches

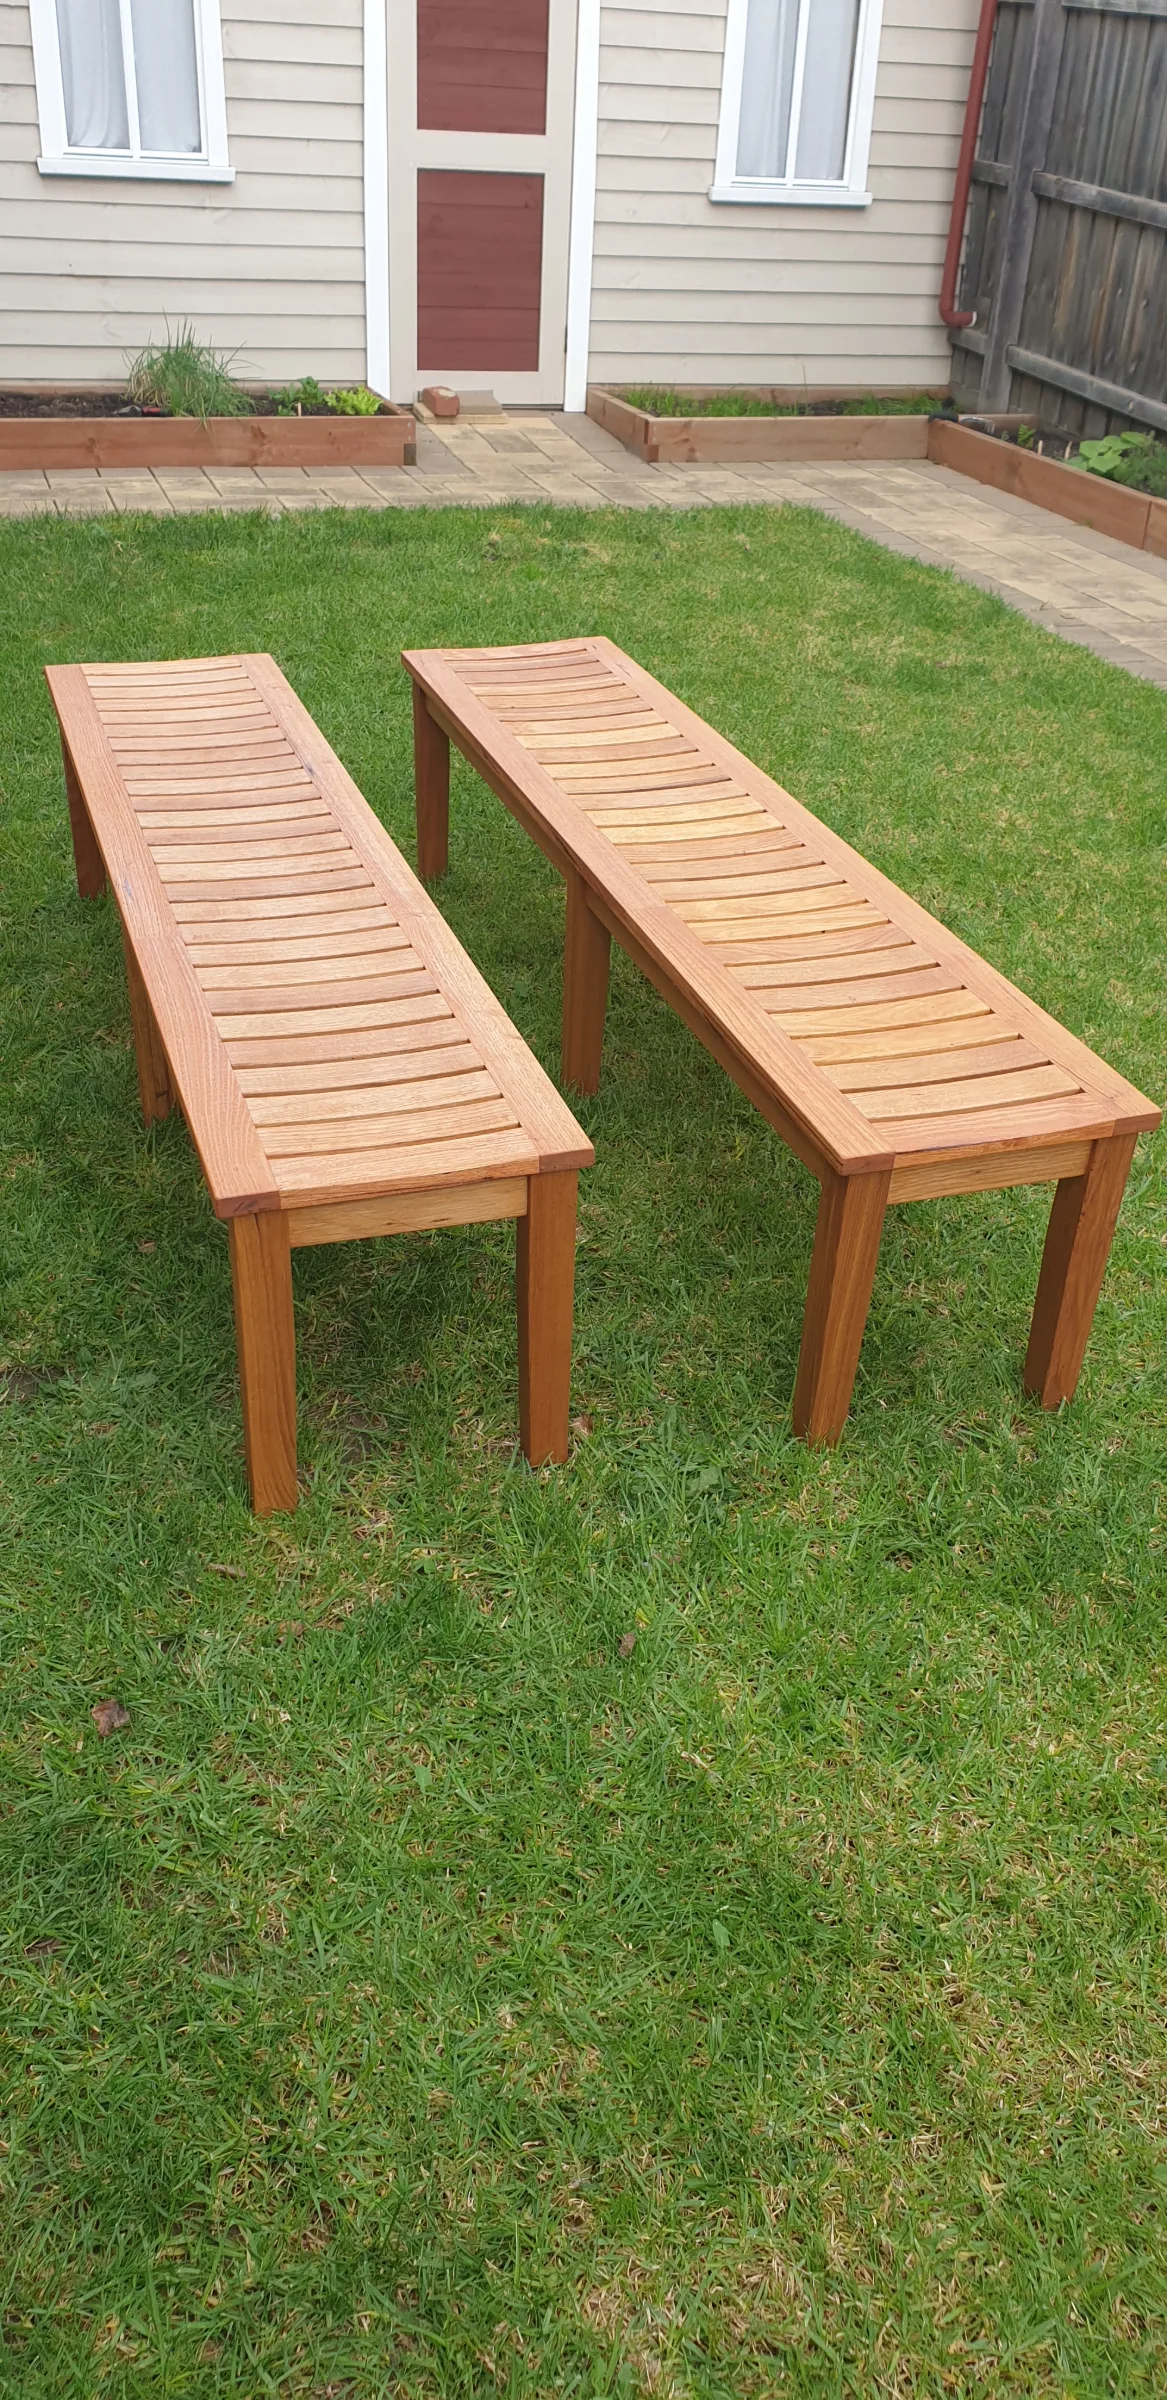
Inspired by The Wood Whisperer on YouTube, I transformed leftover floorboards and reclaimed timber from old church pews into these beautiful seating benches.

THE PROJECT DIARY

The story, step by step.

I started with a pile of old Tasmanian oak floorboards and some scrap timber from old church pews.
Old floorboards.
Scraps from old church pews.

First, I dressed the old floorboards, jointing and thicknessing them to prepare the timber.

Ran the boards through my thicknesser.
Face jointing.
Face jointing.
Face jointing.
Planed the jointed timber to size.

Making the legs.

Cut all 12 legs to size.
Cut mortises.
Cutting the mortises.
Using a jig to cut the tapers.
Mark the chamfer.
Plane the chamfer to the shape.

Assembling the leg frames.

Applying glue to the mortise-and-tenon joints.
Gluing up a leg assembly.
All six leg assemblies.
Assembling the frame. I didn't have any clamps long enough, so I improvised with a car jack. It worked surprisingly well!

Making the slats for the bench seats.

Cutting all slats to size.
Using my table saw to cut the tenons.
My tenon jig.
Finishing up a tenon.

Cutting the mortises in the rails.

Another router jig.
The router jig.
The jig worked really well, producing precise and consistent results.

Shaping the curves on the slats.

I first tried the method demonstrated by The Wood Whisperer.
I found it quite difficult, probably because my bandsaw isn't as good as his.
So I came up with my own router jig.
It worked brilliantly! The jig was easy to use and produced identical curves on every piece.

Assembling the bench seats. I had to prepare everything beforehand and work quickly to get all the joints assembled before the glue started to set.

Dry fit.
Dry fit.
Assembling.
Assembling.
Clamp up.

Finishing and final assembly.

Finishing.
Used stainless steel screws to secure the bench seats.

I'm really happy with how the benches turned out. I hope they'll last for generations.